
Rockwool Radiant Barrier Installation: The Union City Owner’s Guide
Rockwool radiant barrier installation in Union City typically runs $2,400-$4,800 for a complete attic system in a 1,200-2,000 square foot home, and we stock Rockwool AFB evo and Comfortboard 80 barrier-compatible assemblies for same-day starts on most jobs. Most homeowners figure out something’s wrong when their upstairs rooms won’t cool below 78°F even after sunset, or when their PG&E summer bill jumps 30-40% year-over-year despite no rate change.
We’ve done this work across Union City since 2016, from the post-war ranches near Alvarado Adobe Park where original ceiling drywall was never designed for radiant heat loads, to newer builds along the Decoto corridor where builder-grade foil has delaminated after five summers. The R-value on the bag is what the material does in a lab. The number on your blower-door report is what your house actually does - and those two figures are not always friends.
Which Rockwool Models This Applies To
Rockwool doesn’t manufacture a standalone radiant barrier product. What we’re installing is a hybrid assembly: Rockwool stone wool insulation (typically AFB evo for framed cavities or Comfortboard 80 for continuous exterior/interior applications) paired with a reflective radiant barrier substrate, usually foil-faced polyiso or a standalone perforated aluminum product. The compatibility question is whether your existing Rockwool layer can stay or needs to come out.
Here’s how to identify what you’ve got. Look for the black-and-white Rockwool label on any exposed batts or boards. AFB evo is the flexible batt, density around 2.5 lbs/ft³, common in attic floor retrofits. Comfortboard 80 is the rigid board, 8 lbs/ft³, used for cathedral ceilings or wall assemblies. If your attic has loose-fill stone wool, that’s Granulated ROCKWOOL, and it almost always needs to be removed before a proper radiant barrier goes in - the loose material traps dust on reflective surfaces and defeats the whole point.
OEM Rockwool assemblies with factory-applied foil facing do exist, but they’re special-order through commercial distribution. What we stock on our trucks is a matched assembly: virgin Rockwool insulation plus a separate, properly perforated radiant barrier layer. This gives us more installation flexibility and costs 15-20% less than factory-faced boards. For Union City’s climate zone 3C, the assembly needs to be perforated - non-perforated barriers create a vapor trap on the wrong side of the assembly, and we’ve pulled moldy drywall in the Niles District to prove it.
Signs Your Rockwool Radiant Barrier Installation Is Failing
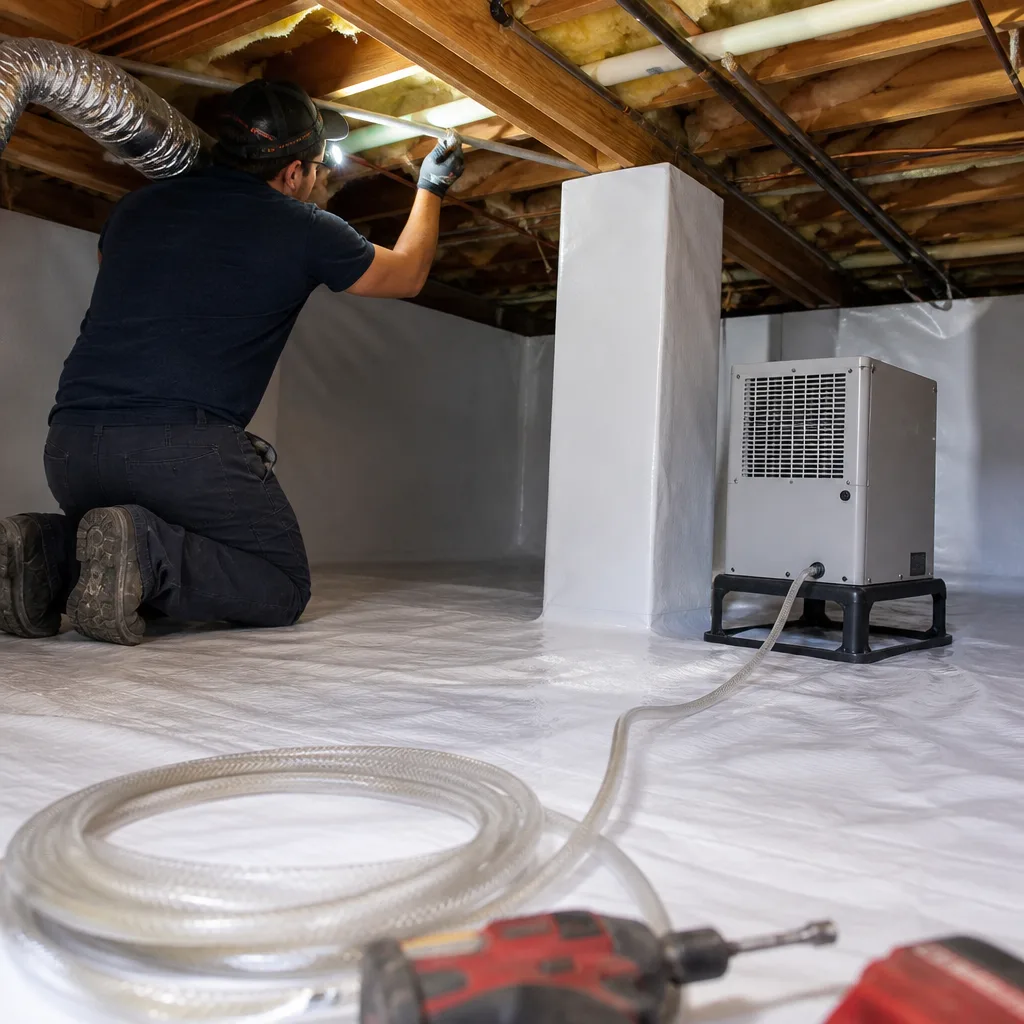
- Second-story rooms that won’t cool until midnight. The radiant barrier’s reflective surface has oxidized, delaminated, or been buried under new insulation someone added later. In Union City’s inland heat, a failed barrier lets roof deck temperatures - often 140°F+ in August - radiate straight through the ceiling assembly.
- Dusty or blackened foil visible in the attic. Rockwool itself doesn’t degrade, but the radiant barrier layer does. Dust accumulation on the foil surface drops reflectivity from 95% to under 50%. We’ve seen this especially in homes near the Hayward border where the dry summer winds carry more particulate.
- Insulation that was added on top of the barrier. Someone blew cellulose or fiberglass over your radiant barrier. Now the barrier is on the wrong side of the thermal envelope - it’s reflecting heat back into the insulation instead of back toward the roof deck. This is the most common post-insulation-company mistake we find in Union City attics.
- Hot spots on the ceiling in late afternoon. The barrier has gaps, tears, or was never continuous to begin with. Thermal imaging shows 10-15°F surface temperature differences between covered and uncovered sections. Rockwool’s high density masks the problem by slowing conductive heat, but it can’t stop radiative transfer without the foil layer intact.
- Your blower-door number got worse after “energy improvements.” A previous contractor added insulation without sealing top plates, can lights, or duct chases. Now you’ve got a stack effect pulling 120°F attic air through every penetration, and the radiant barrier can’t compensate for that much air movement. Wes Okafor’s crews seal first, then insulate - always - because we’ve seen what happens when that order gets reversed.
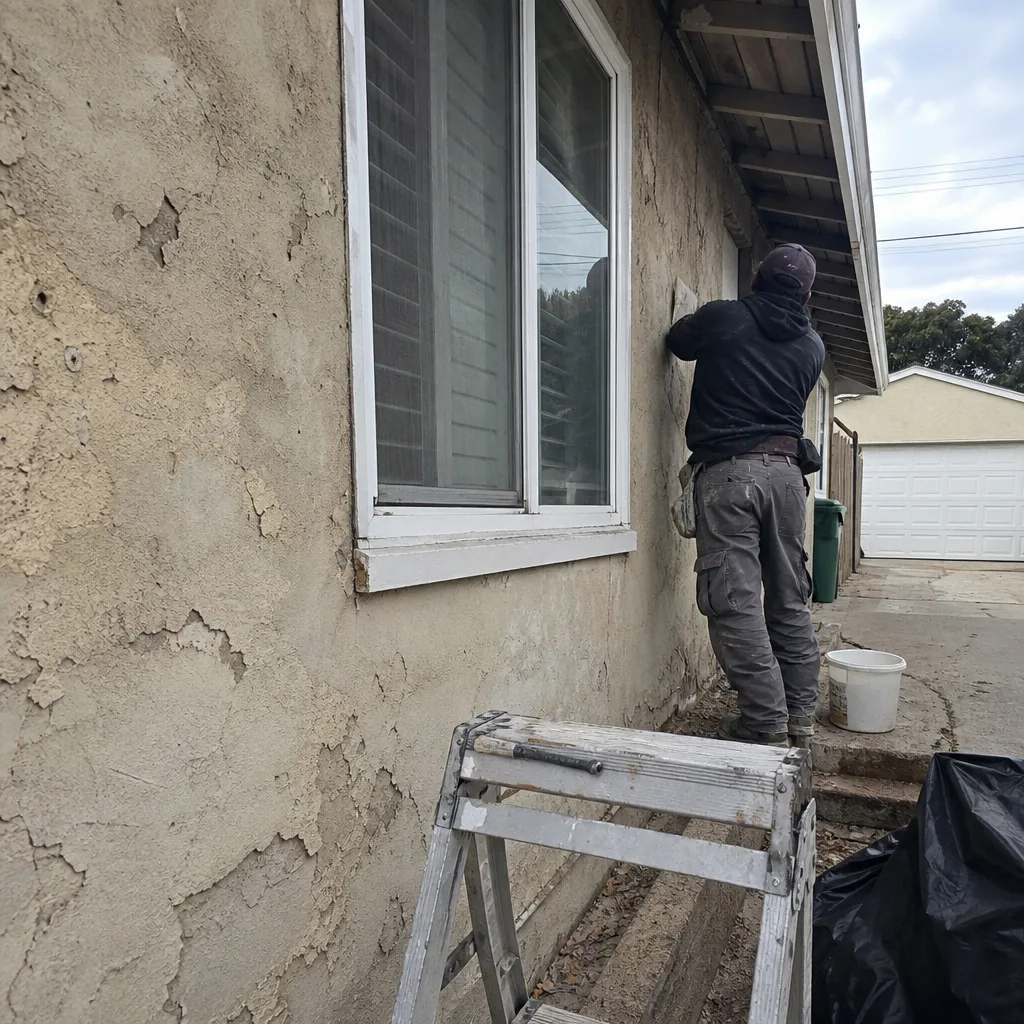 Before
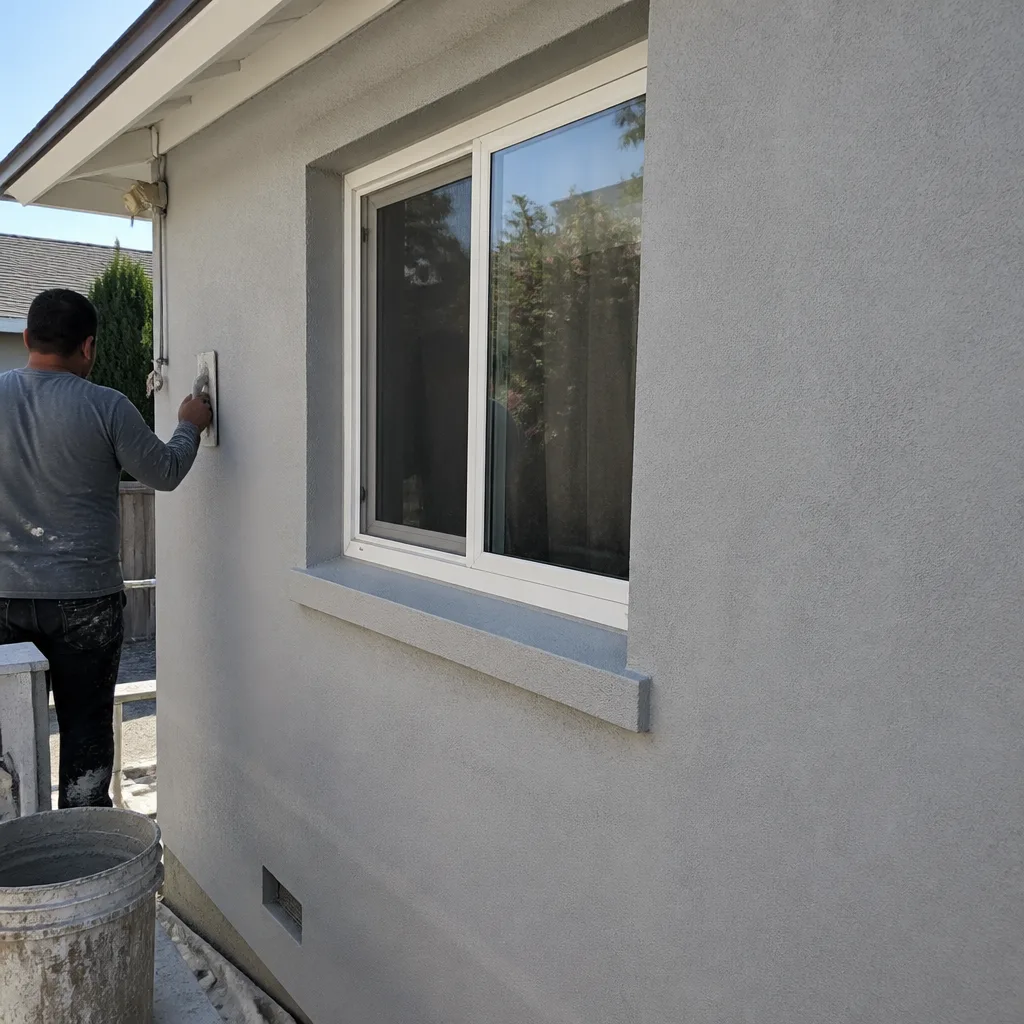 After
AfterReplacement Cost & What’s Included
Most complete Rockwool radiant barrier installations in Union City run $2,400-$4,800, with smaller partial retrofits (one section of cathedral ceiling, a garage conversion) starting around $1,800. The range depends on three things: whether we’re removing existing material, how much air sealing the top plates and penetrations need, and whether the attic has safe decking for crew access.
| Component | Typical Range |
|---|---|
| Rockwool insulation (AFB evo or Comfortboard 80) | $1.20-$2.10/sq ft installed |
| Perforated radiant barrier substrate | $0.45-$0.85/sq ft installed |
| Air sealing (top plates, can lights, penetrations) | $400-$900 |
| Existing material removal and disposal | $300-$600 |
| Blower-door test (before and after) | Included |
Every job gets a Written Price Before Any Work Starts - Haven Standard Clause 1 - and closes with a Documented Photo Record plus printed blower-door readings. The 365-Day Done Right Promise covers all labor and materials. We also stock Reflectix products for homeowners who need a different radiant barrier chemistry, though Rockwool’s stone wool pairing remains our preference for fire resistance and acoustic damping.
DIY or Call Us?
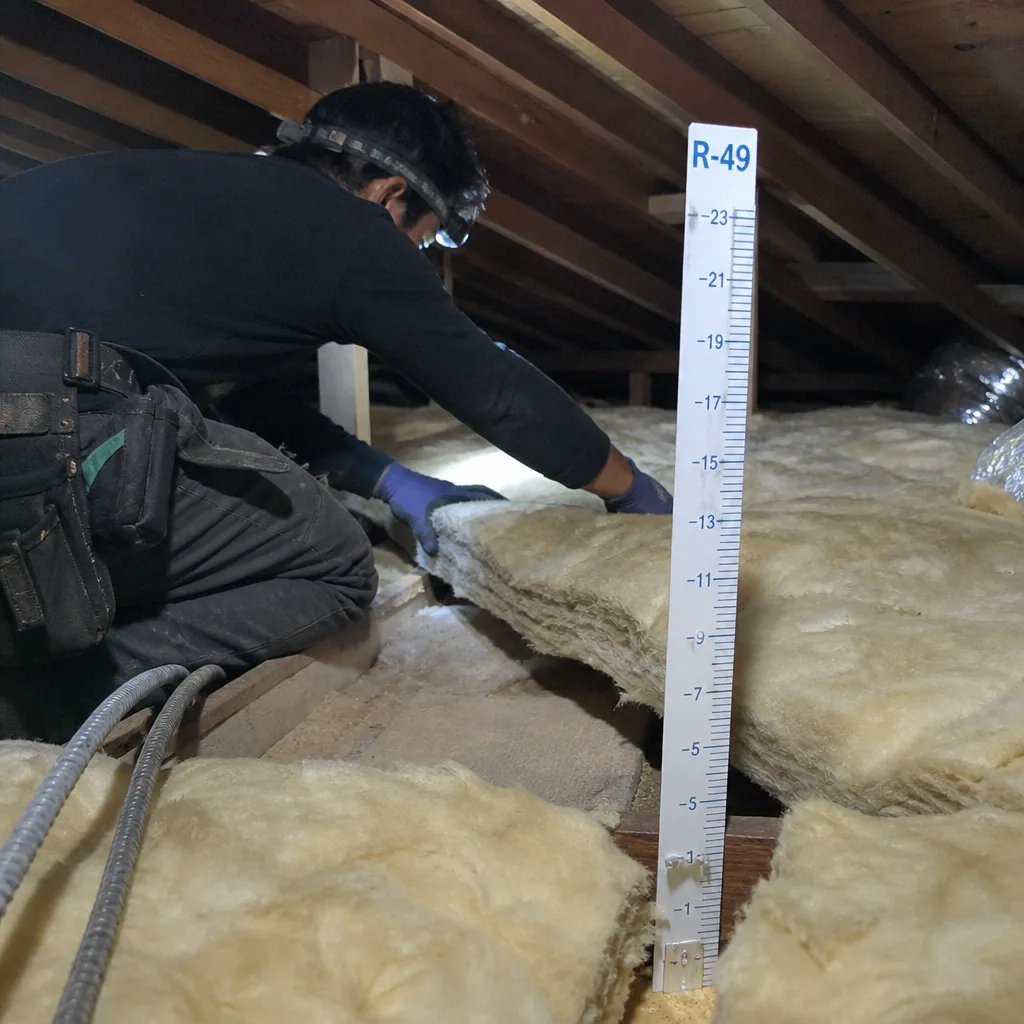
There’s no high-tension spring or electrical hazard here, but there are two ways DIY goes wrong fast. First, working in a 130°F attic with limited lighting and potentially compromised decking is how people fall through ceilings. Second, the radiant barrier must be perforated and must face an air gap - install it wrong-side-to or bury it, and you’ve spent a weekend making the problem worse.
What you can safely check: go up with a flashlight and photograph any labels, foil condition, and whether insulation was added over the barrier. Note any hot spots on your ceiling with a cheap infrared thermometer. Then call us at (650) 381-1512 with those photos. We’ll tell you if it’s a quick repair or a full assembly replacement, and we’ll give you a written price before we schedule anything.
FAQs
In Union City’s climate, a properly installed perforated radiant barrier paired with Rockwool insulation lasts 20-25 years before reflectivity degrades significantly. The Rockwool itself is essentially permanent - stone wool doesn’t settle, rot, or support combustion. What fails first is the foil facing, especially if the attic gets dusty or if someone stores boxes on top of the barrier. We inspect barrier condition during every energy audit and can spot-check reflectivity with a simple meter reading.
Patch repairs work only for small, accessible tears in otherwise intact foil. If the barrier is oxidized, delaminated, or buried under insulation, partial repair costs more in labor than full replacement and leaves you with seams that trap moisture. We don’t quote patch jobs we wouldn’t accept on our own homes. Call (650) 381-1512 for an exact scope - estimates are free, and we’ll show you the photos so you can decide.
Most Union City homes need one to two days: half a day for air sealing and prep, half to full day for the Rockwool and barrier installation, plus final blower-door testing. Homes with complex rooflines, multiple HVAC zones in the attic, or limited access (steep pitches, tight scuttle holes) run toward the longer end. We don’t rush the sealing step - that’s what moves your blower-door number, and that’s what shows up on your PG&E bill.
We stock Rockwool AFB evo batts, Comfortboard 80 rigid boards, and perforated radiant barrier substrates on every truck serving Union City. We’re an independent service provider - not affiliated with Rockwool - and we also carry Reflectix products for homeowners who need a different assembly. If your job requires a specific Rockwool factory-faced board we don’t stock, we can source it within two business days through our distributor in San Leandro.
Written by Wes Okafor, Owner & Lead Insulation Technician, Topside Attic Insulation Union City at Topside Attic Insulation Union City, serving Union City and nearby areas.