
Last updated September 24, 2026
Attic Insulation Maintenance Checklist for Union City Homeowners
A homeowner can lose 30% of effective R-value from a single compressed batt over a recessed light without the insulation ever looking wrong from the attic hatch. The problem stays invisible until a thermal camera or a spike in the gas bill makes it visible. In Union City, where Bay humidity pushes moisture through the building envelope nine months of the year and tract-home attics were built to 1970s air-sealing standards, insulation that looks fine often performs poorly. This checklist is organized around the three mechanisms that actually degrade performance here: moisture infiltration, mechanical compression, and air-barrier failure. Each has observable indicators that require no equipment beyond a flashlight and a $12 ruler.
Quick Answer
Union City homeowners should inspect attic insulation twice yearly - in May, after the rainy season, and in October, before heating demand rises. Check for moisture staining on batt surfaces, compression that reduces settled depth below original installation height, and visible gaps at top plates, can lights, and HVAC penetrations where conditioned air escapes into the attic. A 2-inch loss in settled depth typically indicates 20-25% R-value degradation.
Table of Contents
- How Moisture from Bay Humidity Damages Union City Attic Insulation
- Mechanical Compression: The Hidden R-Value Killer
- Air-Seal Breach at the Four Most Common Failure Points
- A Seasonal Inspection Schedule for Union City’s Climate
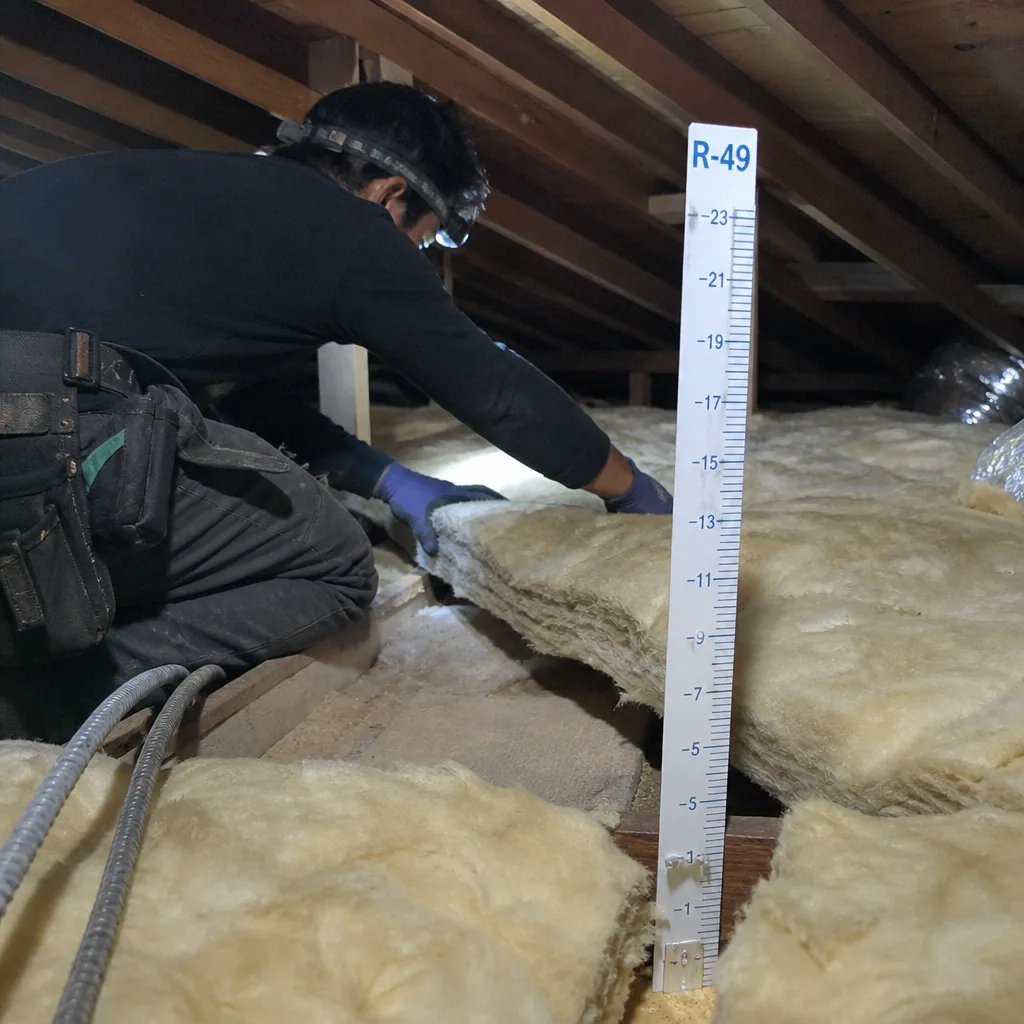
- The $12 Ruler Test: Measuring Settled Depth vs. Original Depth
- Reading Staining Patterns: Moisture vs. Dust Tracking
- Common Mistakes to Avoid
- When to Call a Professional
- Frequently Asked Questions
 Before
 After
AfterHow Moisture from Bay Humidity Damages Union City Attic Insulation
Union City sits in the path of persistent marine layer influence from San Francisco Bay. From May through October, relative humidity in attic spaces routinely climbs above 70% even when outdoor readings seem moderate. That moisture doesn’t just sit there. It migrates through the building envelope, condenses on cool surfaces, and degrades insulation performance through three distinct mechanisms.
Fiberglass batts lose R-value when damp because water displaces the air pockets that provide thermal resistance. A batt at 20% moisture content by weight performs roughly 40% below its rated value. More seriously, repeated wet-dry cycles break down the binder that holds glass fibers together, causing the batt to slump and separate from framing members. We’ve pulled batts from Alvarado and Decoto area homes that appeared intact from above but had detached from top plates, leaving a 2-inch gap where heat flows unimpeded.
Cellulose insulation - common in Union City retrofits - behaves differently. It absorbs more moisture before showing visible damage, but once saturated, it compacts and develops mold-friendly conditions. The boric acid fire retardant in most cellulose also degrades with prolonged moisture exposure, reducing both thermal and pest-resistant properties.
What to look for during inspection:
- Darkening or graying of batt surfaces, especially on the top layer facing the attic
- Surface texture that feels crusty or leaves residue on your hand - dried mineral deposits from evaporated moisture
- Batts that separate easily when lifted, or that pull away from studs and joists
- Musty odor that persists even in dry conditions
- Corrosion on metal fasteners, electrical boxes, or duct straps - a reliable secondary indicator of chronic moisture
In the flatlands near Union Landing and the older stock around Central Avenue, we see more severe moisture damage because these neighborhoods have less afternoon sun exposure and slower drying cycles. Homes with original gable vents but no ridge venting are particularly prone to stagnant humid air.
If you find moisture damage, the insulation itself isn’t the primary problem. It’s a symptom of envelope failure - missing vapor barrier, inadequate venting, or air leaks carrying conditioned air into the attic where it meets cold surfaces. Replacing insulation without fixing the source guarantees repeat failure. This is why our Attic Insulation in Union City work always begins with blower-door testing to quantify air leakage before we specify materials.
Mechanical Compression: The Hidden R-Value Killer
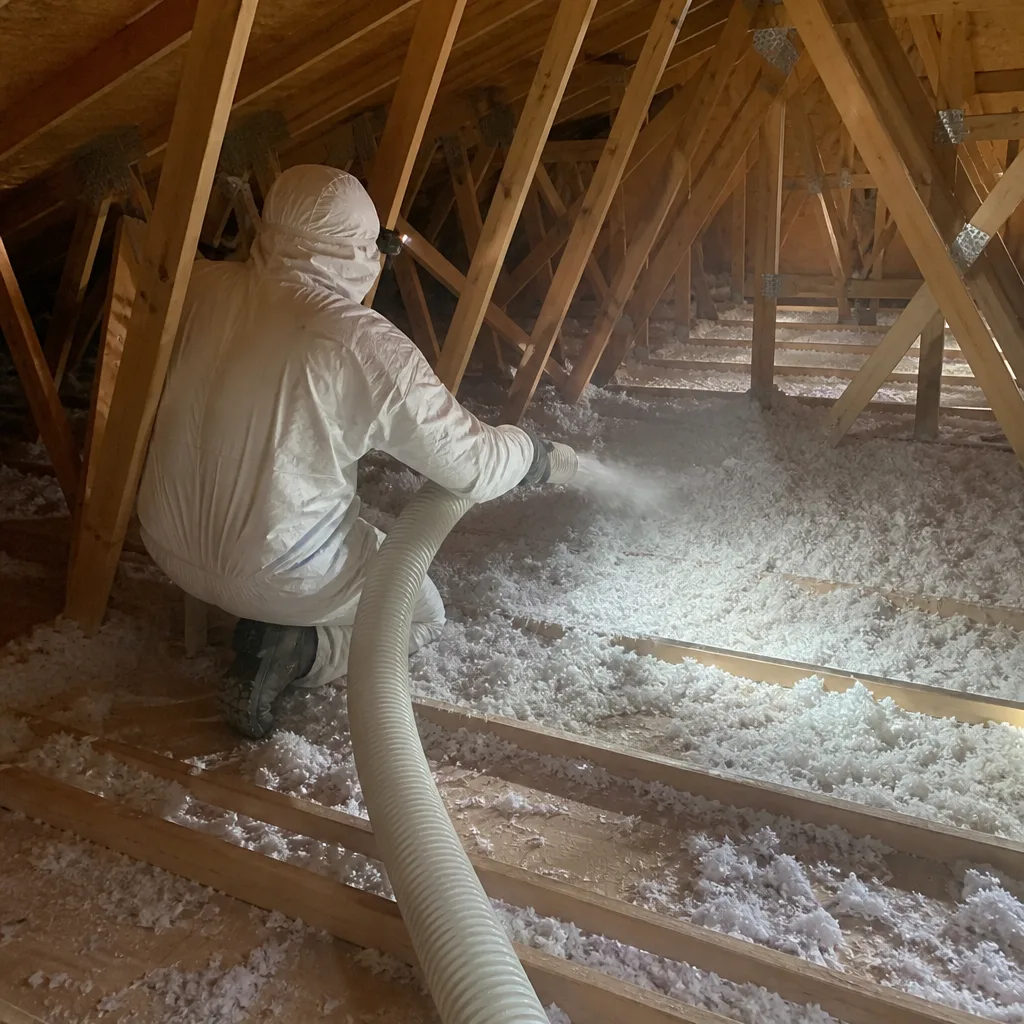
Insulation works by trapping air. Compress it, and you reduce the trapped air volume. The relationship isn’t linear - a batt compressed to half its designed thickness loses more than half its R-value because the fiber structure collapses and thermal bridging increases.
In Union City attics, we see compression from three sources that homeowners rarely identify correctly.
Storage compression. The most obvious. Plywood laid over joists for storage crushes batts to 3.5 inches regardless of their original 6-inch or 9-inch specification. We’ve measured R-30 batts performing at R-12 under storage platforms in the Tri-City area.
Pest compression. Raccoons, roof rats, and squirrels - all active in Union City’s established neighborhoods - compress insulation while nesting and create tunnels that remain as uninsulated pathways long after the animal is gone. The compression pattern differs from storage damage: irregular depressions 6-12 inches across, often with accompanying droppings or urine staining that fluoresces under UV light.
Installation compression. Less common but persistent: batts forced into spaces too narrow for their labeled width, or double-layer installations where the top layer compresses the bottom. We find this frequently around chimney chases and duct soffits in homes built during the 1980s construction boom.
How to identify compression damage:
- Locate an undisturbed reference area away from traffic paths, near the eaves where storage is unlikely
- Measure the settled depth with a ruler, pressing gently until you feel resistance from the substrate
- Compare to the original installation depth - usually marked on a documentation tag near the attic hatch, or estimated from joist height (standard 2×10 joists at 9.25 inches with full-cavity fill should have insulation flush to the top)
- Calculate approximate R-value loss: each inch of compression below design depth reduces effective R-value by roughly 10-12% for fiberglass, 8-10% for mineral wool products like Rockwool
Union City’s permit records from the 1970s and 1980s show most tract homes were built with R-19 (6-inch) fiberglass in 2×10 joist cavities, as detailed in The Complete Guide to Insulation in Union City. If your settled depth measures 4 inches, you’ve lost approximately 30% of original thermal performance. In a home heated and cooled to standard setpoints, that typically adds $180-340 annually to utility bills in the PG&E rate zone.
Compression damage is rarely fixable by fluffing. Once glass fibers are bent, they don’t spring back. The batt needs replacement, and the cause needs addressing - structural reinforcement for storage loads, pest exclusion, or corrected installation technique.
Air-Seal Breach at the Four Most Common Failure Points
Air leakage through the ceiling plane wastes more energy than conduction through underperforming insulation. In heating season, warm air rises through gaps, carrying moisture that condenses on cold roof sheathing. In cooling season, negative pressure from return ducts pulls hot attic air inward. Either way, the insulation layer is bypassed.
Our blower-door testing across Union City has identified four locations where air-seal failure occurs with statistical regularity. Each has distinct visual indicators.
Top Plates
The horizontal framing member where wall studs meet the ceiling joist. In platform-framed homes - nearly all Union City construction after 1965 - this joint runs continuously around every room perimeter. Drywall is rarely sealed to the plate, and the gap may be 1/8 to 1/4 inch. During blower-door testing, we routinely find these joints contributing 15-25% of total envelope leakage.
Visual indicator: Dust streaking on insulation directly above top plates, or batts that appear darker in a linear pattern matching wall locations below. In winter, you may feel a noticeable temperature drop with your hand held near the plate line.
Attic Hatch Perimeters
The hatch itself is a hole in the air barrier. Without compression weatherstrip and insulated cover, it functions as an open chimney. We’ve measured hatches leaking at 150-300 CFM50 in blower-door tests - equivalent to a 6-inch diameter hole in the envelope.
Visual indicator: Insulation around the hatch frame disturbed by repeated lifting, or compressed where the hatch sits. Look for gaps between the frame and drywall ceiling, and check whether the hatch cover has any insulating value - many are bare 1/2-inch plywood (approximately R-0.6).
Recessed Lights
IC-rated (insulation contact) cans are required by California Title 24 for new work, but Union City homes built before 2005 typically have non-IC fixtures that require 3-inch clearance from insulation. Homeowners and prior contractors often ignore this clearance, burying insulation against hot housings. The resulting compression and fire hazard are compounded by air leakage through the fixture body itself.
Visual indicator: Insulation pulled back or discolored around light housings, or batts cut to fit with visible gaps. Non-IC cans in insulated ceilings are a code violation and should be replaced with airtight IC-AT (insulation contact, airtight) units before insulation is upgraded.
HVAC Penetrations
Flex duct connections, refrigerant line sets, and combustion venting all pass through the ceiling plane. Each penetration is a potential air leak. In Union City’s 1970s-1990s housing stock, we find unsealed boot connections - where the duct meets the ceiling register - contributing significant leakage that pressurizes the attic and drives moisture inward.
Visual indicator: Dust accumulation on insulation around duct boots, or flex duct that has detached from metal boots. Look for metal tape or mastic sealant at connections; absence suggests leakage. Condensation on duct exterior in cooling season is another sign that attic air is contacting cold supply surfaces.
Air sealing these four locations before adding insulation is the core of our approach at Topside Attic Insulation Union City home. A blower-door test - a pressurization reading that shows, in one number, how much air your building envelope is losing - provides the baseline. Typical Union City homes of 1,400-2,000 square feet test at 3,500-5,500 CFM50 before sealing and 1,800-2,800 after comprehensive air sealing at the four failure points plus additional penetrations.
A Seasonal Inspection Schedule for Union City’s Climate
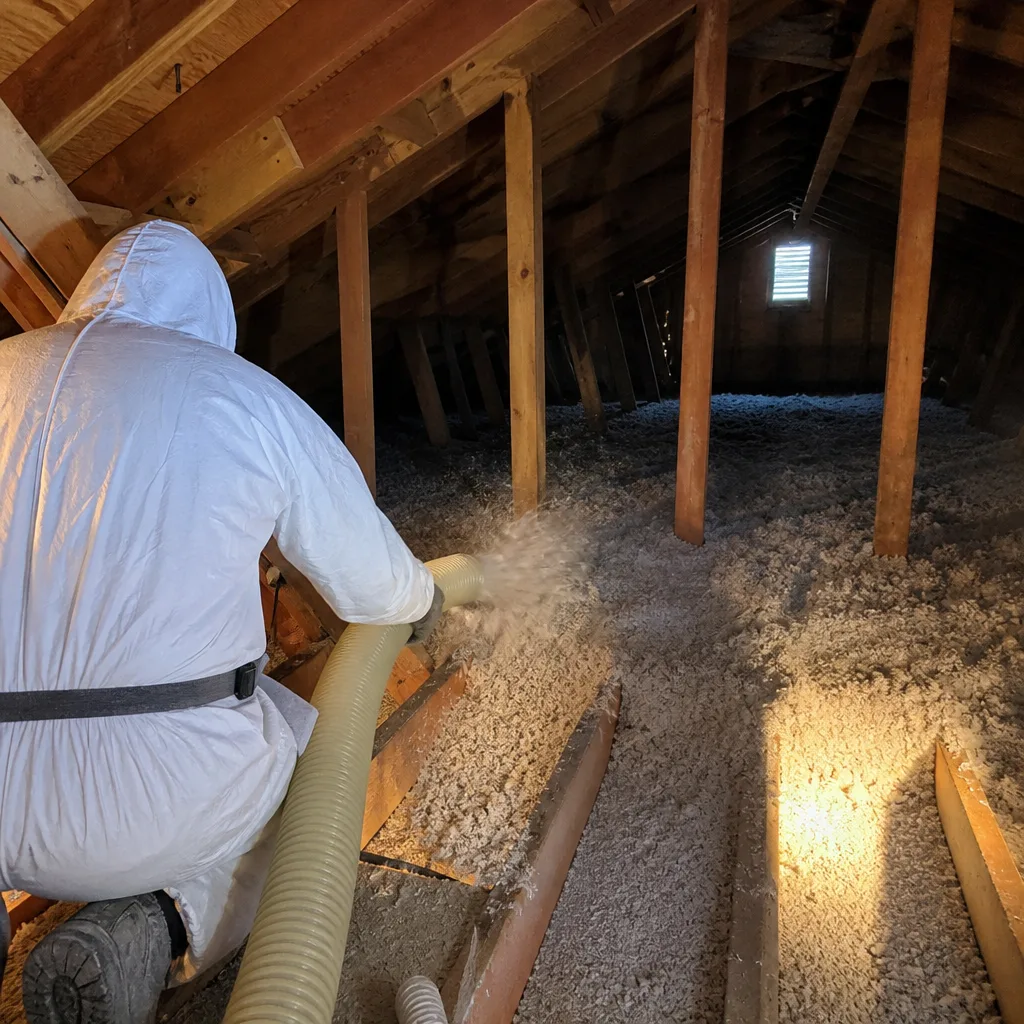
Generic spring/fall inspection schedules ignore the Bay Area’s distinct moisture calendar. Union City’s pattern is specific: concentrated winter rainfall, persistent marine layer through early summer, then dry conditions with occasional heat spikes from inland valley influence.
May Inspection: Post-Rainy Season Assessment
After the last significant rainfall, typically mid-April in most years, inspect for moisture damage while evidence is fresh. Check:
- Staining patterns on insulation surfaces (see next section for interpretation)
- Roof leak evidence - water spots on sheathing, rusted nails, or damp decking
- Ventilation function - soffit vents blocked by insulation, ridge vents obstructed by debris
- Pest activity - breeding season begins; look for new entry points, nesting material, droppings
May is also when marine layer humidity peaks. If your attic feels noticeably humid during this inspection, ventilation or air-sealing deficiencies are likely.
October Inspection: Pre-Heating Season Preparation
Before nighttime temperatures drop consistently below 55°F and heating demand rises:
- Verify insulation depth hasn’t settled below specification through summer heat cycles
- Check air barrier integrity - the pressure differential in heating season is strongest, so small leaks become large energy losses
- Inspect around any summer work - electrical, roofing, HVAC - that may have disturbed insulation or created new penetrations
- Confirm attic hatch seal and insulation cover are in place
January: Optional Mid-Winter Check
Only if you’ve had prior moisture issues or active pest problems. A brief visual inspection during a dry spell can catch developing problems before spring rains.
Homes in the hillside areas above Alvarado Niles Road experience more temperature variation and faster drying, which can mask moisture problems that persist longer in the flatlands. Adjust inspection thoroughness accordingly - hillside homes need closer attention to air-seal breaches that drive stack effect leakage, while flatland homes need more careful moisture monitoring.
The $12 Ruler Test: Measuring Settled Depth vs. Original Depth
This is the single most useful measurement a homeowner can perform. It requires no special equipment, provides quantitative data about insulation performance, and creates documentation if you later need to discuss remediation with a contractor.
Materials: Metal ruler or tape measure, camera, notepad.
- Find your reference depth. Check for a building permit or insulation contractor tag near the attic hatch - this often lists the original R-value and material type. For standard materials: fiberglass batts at R-3.1 per inch, Rockwool at R-3.3 per inch, cellulose at R-3.2-3.8 per inch depending on density. A 2×10 joist cavity (9.25 inches) filled with R-30 fiberglass should have insulation at or near the joist top.
- Select measurement locations. Take six measurements minimum: one near each corner of the attic, one at center span, and one near the hatch. Avoid areas directly under the hatch, within 3 feet of HVAC equipment, or where storage platforms exist - these are atypical.
- Measure settled depth. Press the ruler gently through the insulation until you feel solid contact with the drywall or existing substrate. Record to the nearest quarter-inch. For loose-fill cellulose or fiberglass, use a piece of cardboard as a base plate - press until resistance, then measure to the cardboard surface.
- Calculate R-value estimate. Multiply settled depth by the material’s per-inch R-value. Compare to original specification.
- Photograph and date. Documentation matters. A photo of the ruler in place, with depth visible, creates a timestamped record.
Interpretation guide for Union City homes:
| Settled Depth Loss | Estimated R-Value Loss | Recommended Action |
|---|---|---|
| 0-1 inch | 0-12% | Monitor annually; no immediate action |
| 1-2 inches | 12-25% | Consider supplemental insulation; inspect for compression cause |
| 2-3 inches | 25-37% | Plan replacement or dense-pack overlay; significant energy impact |
| More than 3 inches | More than 37% | Priority remediation; likely multiple failure mechanisms |
A homeowner in the Station District who measures 4.5 inches where R-30 (6-inch) fiberglass was originally installed has lost approximately 25% R-value. At current PG&E rates for gas heating and electric cooling in Climate Zone 12, that typically costs $200-400 in excess annual energy spend for a 1,600 square foot home.
The ruler test also protects you in contractor conversations. If three measurements show consistent 2-inch settlement, you have data. If a contractor recommends full replacement without explaining why the settlement occurred, get a second opinion. Under Haven Standard Clause 1, we provide a written price before any work starts - and we offer a Free Second Opinion on Any Written Estimate. Bring us a competing quote; we will read it with you.
Reading Staining Patterns: Moisture vs. Dust Tracking
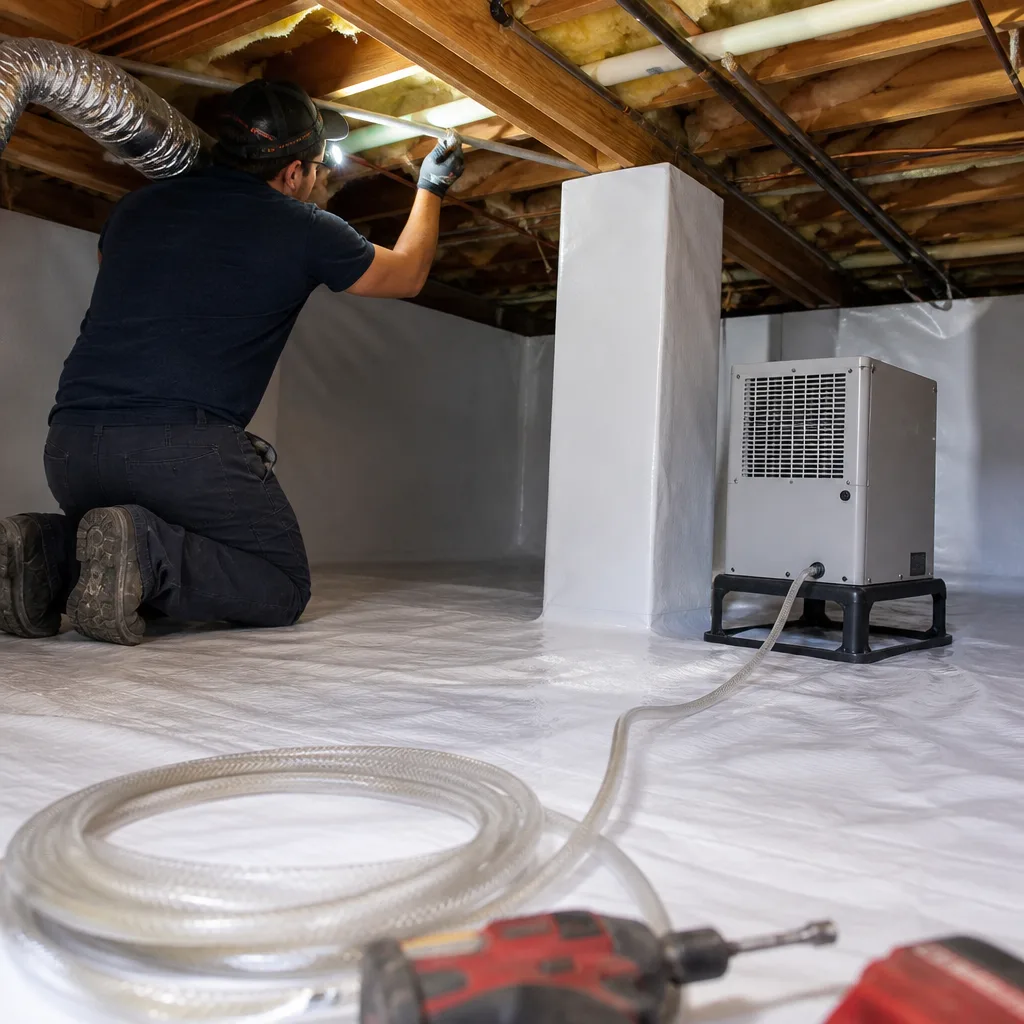
Not all discoloration indicates moisture damage. Learning to distinguish patterns prevents unnecessary remediation and helps identify the actual problem source.
Moisture staining characteristics:
- Irregular, amoeboid shapes with diffuse edges - water spreads through capillary action in fibers
- Color progression: light yellow or tan when fresh, darkening to brown or gray as organic material accumulates
- Often associated with specific locations - below roof penetrations, near chimney flashings, above bathrooms where vapor drive is strongest
- May show tide marks or layering if repeated wet-dry cycles occurred
- Texture: surface fibers may feel stiff or crusty from mineral deposit accumulation
Dust tracking characteristics:
- Linear patterns following framing members, especially top plates and joist edges - this is filtered air leakage, where insulation acts as an air filter
- Uniform gray to black color, consistent with household dust composition
- Sharp boundaries where air flow stops, creating distinct lines rather than diffuse edges
- Often heaviest near HVAC return pathways or central hallway ceilings where pressure differentials are strongest
- Dry to the touch; no odor
The critical distinction: moisture staining indicates an envelope failure that will continue degrading insulation and potentially damage structure. Dust tracking indicates an air leak that wastes energy but doesn’t inherently damage materials. Both need correction, but the urgency and method differ.
In Union City’s older housing stock, we frequently find both patterns overlapping. A roof leak causes moisture staining; the homeowner’s delayed response allows the wet insulation to slump, creating gaps where air leaks intensify, producing dust tracking on adjacent materials. The original cause (roof leak) and the secondary effect (air leakage) require different repairs.
When in doubt, a moisture meter provides definitive data. Pin-type meters with 2-inch probes can measure insulation moisture content directly. Readings above 15% for fiberglass or 20% for cellulose indicate active moisture problems requiring source identification before insulation replacement.
Common Mistakes to Avoid
- Adding insulation over unsealed air leaks. This is the most expensive common error. New insulation performs poorly when bypassed by air flow, and the original leaks become harder to access. In Union City’s 1970s tracts, we regularly find R-38 blown fiberglass installed directly over original R-19 batts with zero air sealing - the effective performance is often R-25 or less.
- Compressing insulation to fit storage needs. Plywood platforms over joists crush batts and create thermal bridges through the framing. If attic storage is non-negotiable, raise the platform on 2×4 sleepers perpendicular to joists, maintaining full insulation depth beneath.
- Blocking soffit vents with insulation. Vent baffles - cardboard or foam channels that maintain airflow from soffit to ridge - are frequently omitted or crushed during insulation upgrades. Without them, insulation contacts roof sheathing, moisture accumulates, and mold develops. In Union City’s humid climate, this is a predictable failure mode.
- Ignoring non-IC recessed lights. Burying insulation against hot fixture housings creates fire risk and compression damage. The correct sequence: replace with IC-AT rated units, seal the housing to drywall with fire-rated caulk or cover, then insulate.
- Assuming uniform insulation depth means uniform performance. A 9-inch depth of moisture-compromised, air-bypassed insulation performs worse than 6 inches of properly sealed, dry material. Depth is necessary but not sufficient for performance.
- DIY spray foam application. Two-component polyurethane foam - the type used for air sealing large gaps - requires respiratory protection, precise temperature control, and understanding of expansion rates. Improper application traps moisture, creates off-gassing problems, and is extremely difficult to remove. This work belongs to technicians with proper equipment and training.
- Neglecting to document pre-existing conditions. Photos before any disturbance, depth measurements with dates, and notes on staining locations protect you if disputes arise and help contractors provide accurate scope. Our Documented Photo Record on Every Visit is standard because we’ve seen how often “it was like that before” becomes unprovable without images.
When to Call a Professional
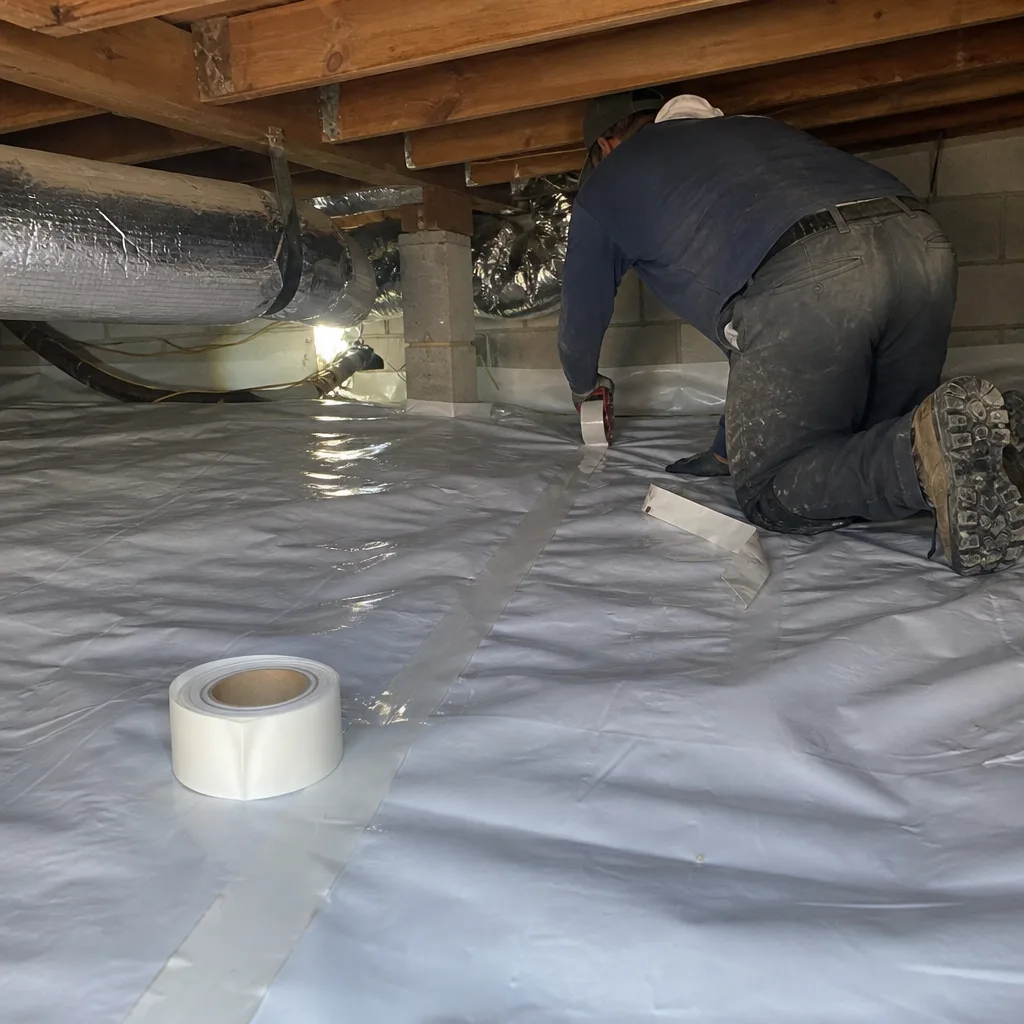
Some conditions exceed homeowner inspection and remediation capacity. Call a qualified insulation contractor when you find: moisture content above 15% in multiple locations; pest infestation with contamination (droppings, urine, carcasses); any recessed light housing without IC rating that has insulation contact; air leakage you can feel with your hand at multiple top plate locations; or settled depth loss exceeding 3 inches with no identifiable single cause.
Topside Attic Insulation Union City offers free estimates in Union City. We’ll perform a blower-door test to quantify leakage, photograph conditions, and provide a written scope with fixed pricing before any work begins. Call (650) 381-1512 to schedule. For homes with crawl space moisture issues that compound attic performance problems, our Crawl Space Encapsulation & Vapor Barrier in Union City service addresses the full building envelope.
Frequently Asked Questions
Most complete attic insulation replacements in Union City run between $3,200 and $6,800 for a 1,400-2,200 square foot home, depending on material selection, accessibility, and whether air sealing is included. Blown fiberglass or cellulose at R-38 typically falls at the lower end; spray foam or high-density mineral wool at Knauf or Johns Manville specifications pushes toward the upper range. We provide a written price before any work starts - no exceptions. Call (650) 381-1512 for an exact quote; estimates are free.
Yes, if the existing material is dry, uncontaminated, and uncompressed. In Union City’s climate, we frequently find that 1970s-1980s fiberglass batts are moisture-damaged or compressed beyond recovery. Adding new material over compromised old insulation traps problems and reduces the new layer’s effectiveness. The correct sequence: inspect and test existing material, remove if compromised, air seal the ceiling plane, then install new insulation to full specified depth. For spray foam applications, see our Spray Foam Insulation in Union City page for material-specific requirements.
Twice yearly: May, after the rainy season ends, and October, before heating demand rises. See our more guides & resources for additional seasonal maintenance tips. Homes with prior moisture problems, active pest issues, or recent roof or HVAC work merit a January check as well. The marine layer influence in Union City means moisture conditions change significantly between winter and summer inspection points - a generic spring/fall schedule misses this pattern.
California Title 24 requires R-38 minimum for attic insulation in new construction and major alterations in Climate Zone 12, which includes Union City. For retrofit applications without full envelope modification, R-30 is often practical and provides meaningful improvement over the R-19 common in original construction. The performance difference between R-30 and R-38 is approximately 15% in thermal resistance; the cost difference is typically 20-25% for materials and labor. We recommend R-38 when accessible, R-30 minimum when joist depth or budget constraints apply.
Repair is rarely cost-effective for compressed or moisture-damaged fiberglass batts. Once glass fibers are bent or binders degraded, the material cannot be restored to original performance. Spot repair - removing damaged sections and replacing with new - is practical only when damage is localized to less than 20% of attic area and the cause is definitively corrected. For widespread compression, moisture damage, or pest contamination, full replacement with air sealing delivers better long-term value. Most Union City homeowners recover replacement cost in 5-8 years through reduced energy bills, faster with available rebates.
Yes, though the mechanism differs from winter heating. In summer, attic insulation reduces heat gain from roof surfaces that reach 140-160°F during inland heat events. More importantly, proper air sealing prevents attic air infiltration through ceiling penetrations when return ducts create negative pressure. Union City experiences 10-15 days annually above 90°F with overnight lows remaining above 65°F - conditions where cooling load dominates and attic performance directly affects comfort and equipment runtime.
Calculate the 1:300 rule: 1 square foot of net free vent area per 300 square feet of attic floor space, with 50% at or near the ridge and 50% at or near the soffit. For a 1,600 square foot attic, that’s 5.3 square feet total, 2.67 at each level. In practice, insect screens and louvers reduce effective area by 50-70%, so gross opening should double the calculated minimum. In Union City, where marine layer humidity persists, we prefer 1:150 ratios for older homes with known moisture history. Look for: soffit vents visible from ground level and unblocked in the attic; ridge vent continuous along peak; no bathroom or kitchen fans exhausting into attic space.
The Bottom Line
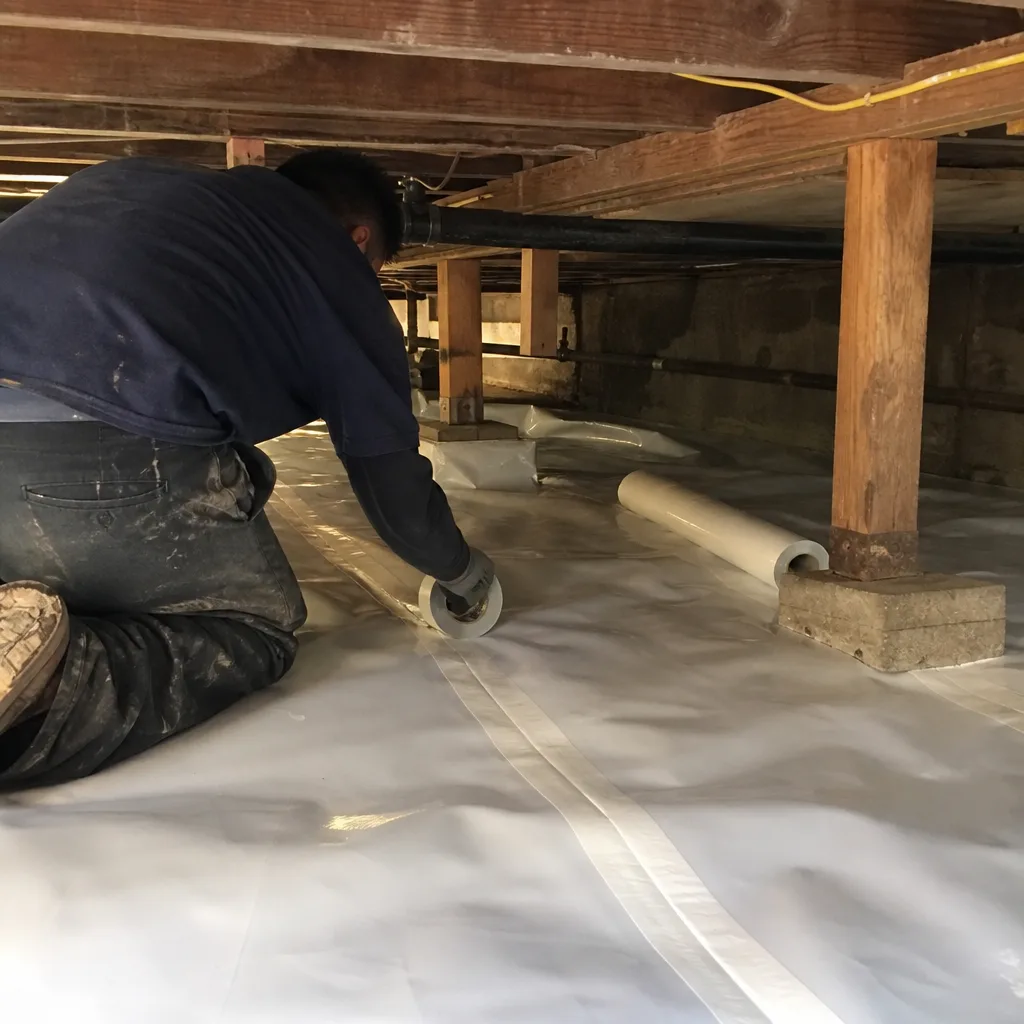
Attic insulation maintenance in Union City is not about looking at depth and calling it done. The three failure mechanisms - moisture infiltration from Bay humidity, mechanical compression from storage or pests, and air-barrier breach at top plates, hatches, can lights, and HVAC penetrations - each have specific visual indicators that attentive homeowners can identify. The $12 ruler test provides quantitative data about R-value loss. Seasonal inspection timed to Union City’s actual weather calendar catches problems when they’re developing, not after they’ve caused secondary damage. Documentation - photos, measurements, dates - protects your investment and enables productive contractor conversations. When conditions exceed DIY scope, work with a contractor who measures before and after, puts the scope and price in writing first, and can explain what the blower-door number means for your specific home.
Written by Wes Okafor, Owner at Topside Attic Insulation Union City, serving Union City since 2016.